DIY Gravel Pathway
Adding a gravel pathway is an affordable solution to eliminate muddy walkways. No matter the size of your project with a little planning and hard work it’s a DIY project almost anyone can accomplish.
Materials Needed
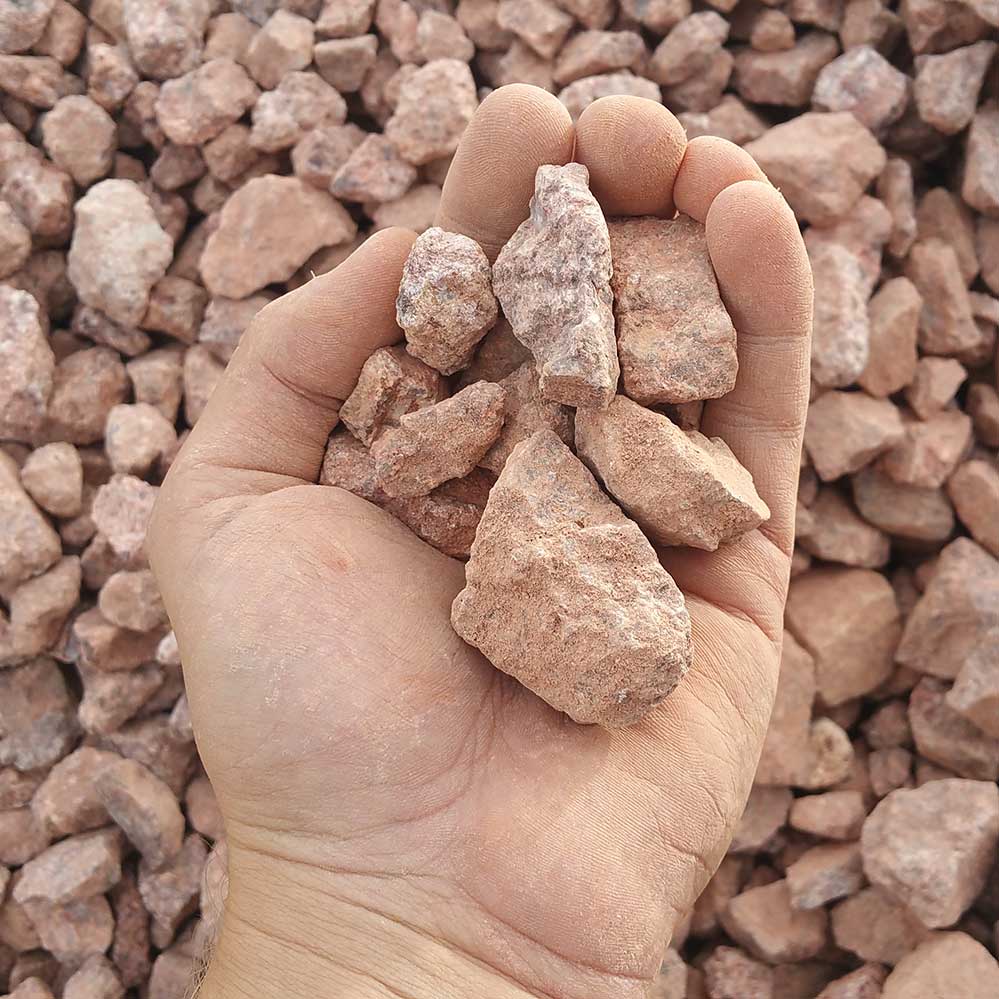
- Gravel
- Landscape Fabric *Optional
Tools/Equipment
- Shovel & Rake
- Measuring Tape
- Wheelbarrow
- Skid Steer *Optional for projects requiring digout, leveling or large quantity placement.
- Sod Cutter *Optional for easy removal of existing sod.
1 – Mark and Measure
Mark and measure the area
Find the boundaries of your soon to be Pathway. If needed contact local bluestakes to mark underground utilities. Calculate the square footage of the area
2 – Level and Clear
Level and clear the area
Make sure your area is clear of all debris and weeds. Fill in any holes or low areas and compact the soil for a sturdy base.
3 – Order Materials
Order Materials
If you’ll be using landscape fabric to help reduce weeds be sure to order it first so it can be intalled before the gravel arrives. Order the needed quantity of gravel.
4 – Placement
Placement
Dump rock into desired area. Use shovels to spread material over area and use a rake to settle rock into place helping it compact.
FAQs
- How deep does the gravel need to be? Between 2-3” inches. If you are using a smaller gravel like a pea gravel, 3/4” or 1” size than 2-3” is most common.
- Can I use Pea Gravel? Pea Gravel is usually a cheaper solution. Benefits of pea gravel are more comfort under foot and easy to shovel. Smaller materials do move more and may require more frequent maintenance.